Running a RPL network in Cooja
This tutorial assumes you already know the Cooja basics (see tutorial:cooja).
We will create a simulation involving RPL and UDP communication.
Create a first mote type with examples/rpl-udp/udp-server.c, and add one node of this type (one UDP server).
Now add a second mote type using examples/rpl-udp/udp-client.c.
Add maybe 8 of them.
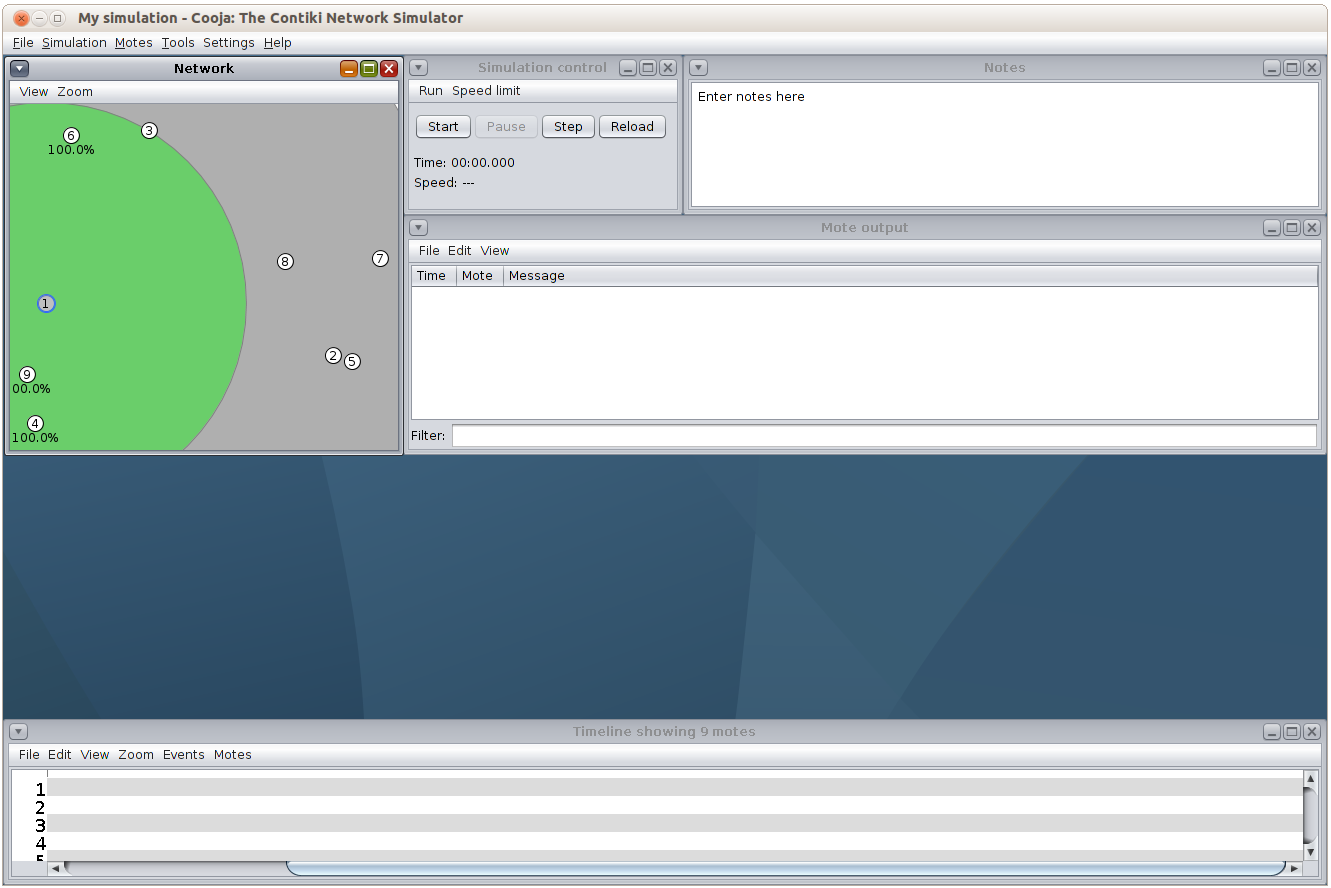
The nodes should now show on the Network panel.
In the Network panel, explore the view tab to visualize things such as the Mote ID or the Radio Environment.
With Radio Environment enabled, clicking on a node will show its radio range and interference range (in green and gray, respectively):
Run the simulation for a little while and pause it.
There are plenty of messages in the Mote output window.
At the bottom of it, you can type regexp filters.
Just type App and press enter to only show messages that contain App:
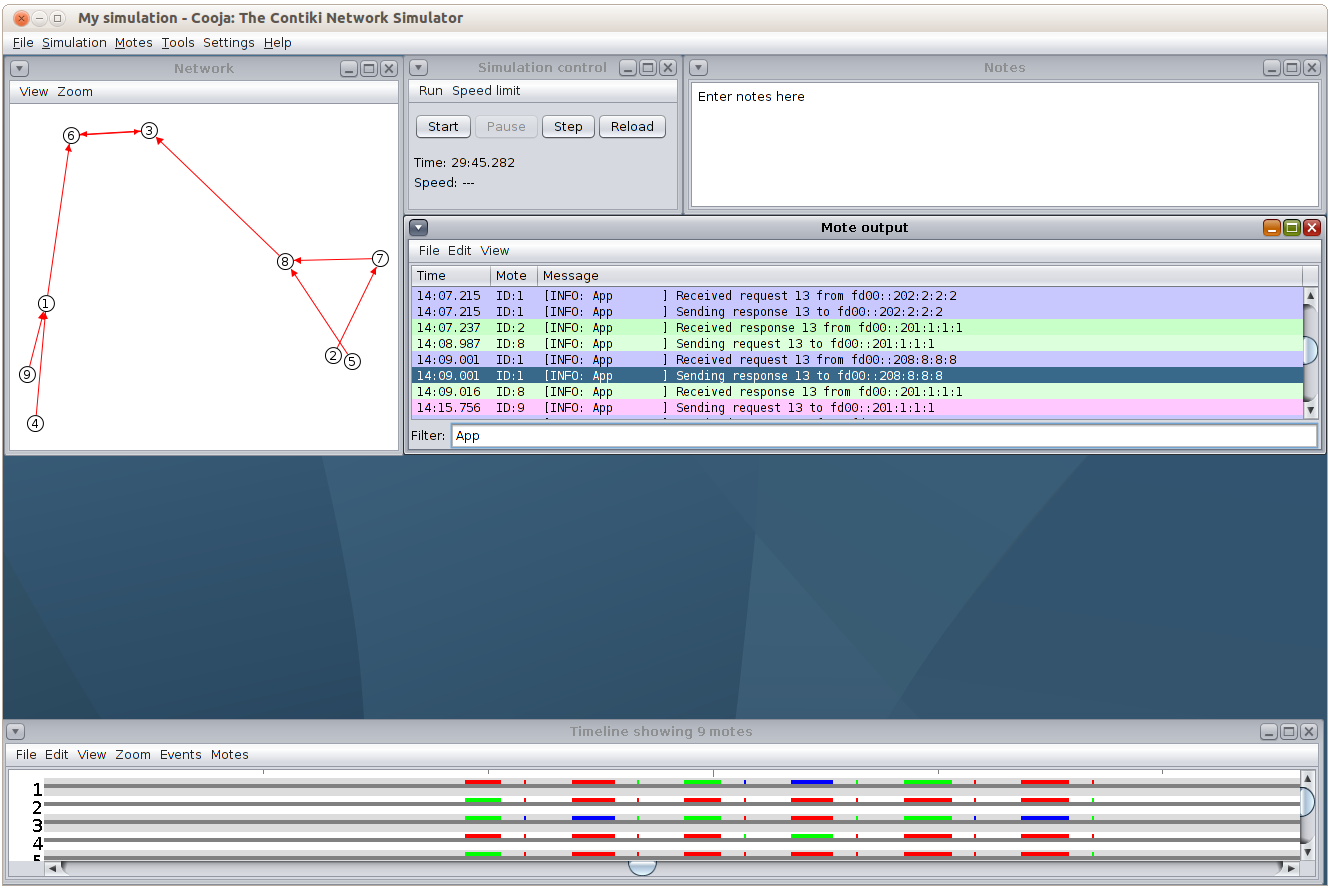
Great, our RPL network is running and nodes are sending requesting and responding to one another!
In the Mote output panel, you can click on messages, and press space.
This will synchronize the Timeline (and Radio messages panel if present) to the log message you selected.
From the timeline, double-click to get the Mote output to synchronize to a given point in time.
In the timeline, you can zoom in/out by holding ctrl and mouse scrolling.
Blue boxes show packet transmissions.
Green boxes are receptions.
Red boxes are collisions. Here we see plenty of them because nodes are in the interference range of one another (gray in the Network view).