Running Contiki‐NG in Cooja
This tutorial shows how to use Cooja, a network simulator.
First, make sure you have Cooja installed (see doc:toolchain-installation).
Make sure the right Java virtual machine is installed, and the Cooja submodule downloaded (git submodule update --init --recursive).
Go to the Cooja directory, build and start it with Gradle.
$ cd tools/cooja
$ ./gradlew run
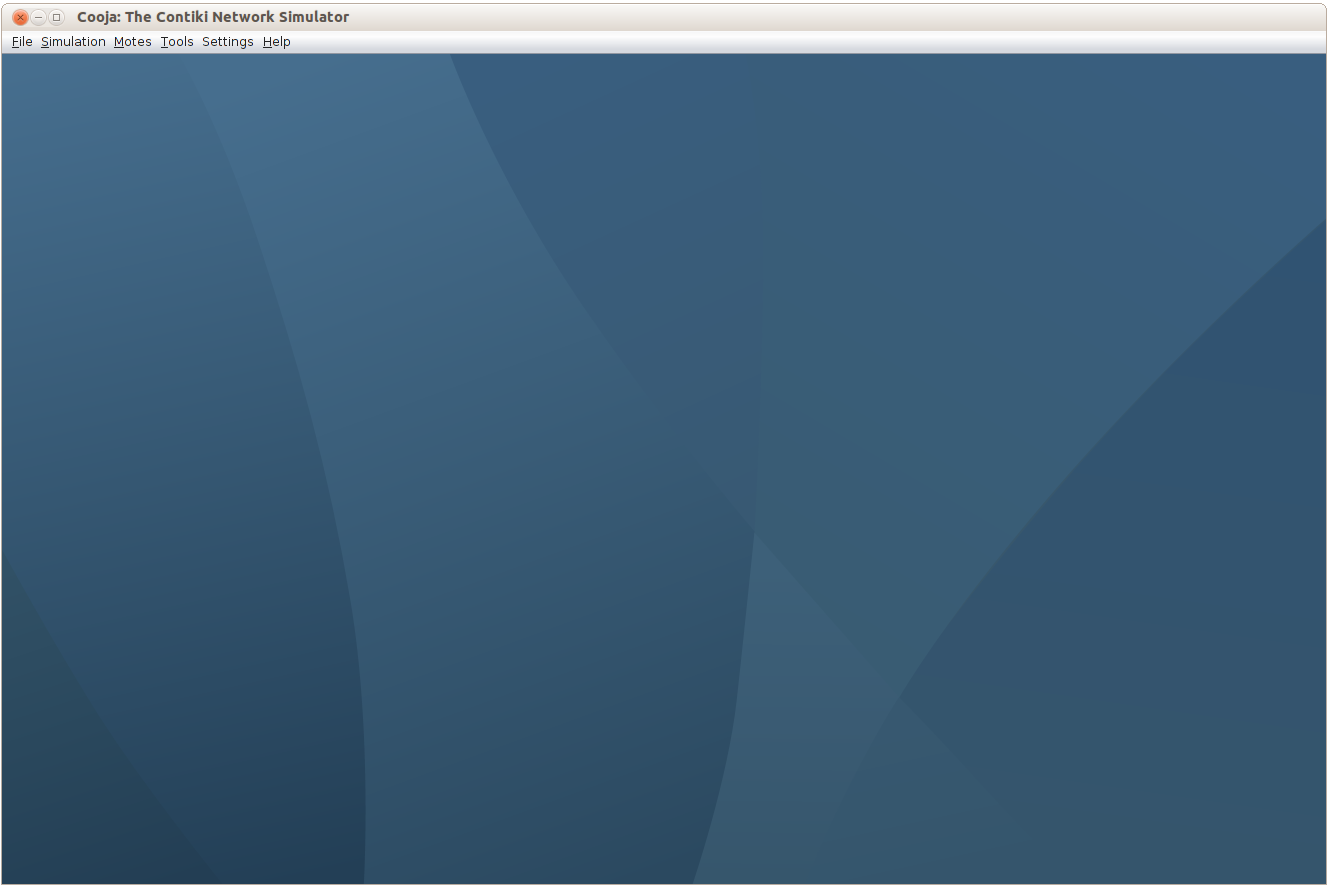
Cooja will start with an empty window:
To create a new simulation, click on File->New Simulation.
Choose a name for the simulation, set other optional parameters, and click Create.
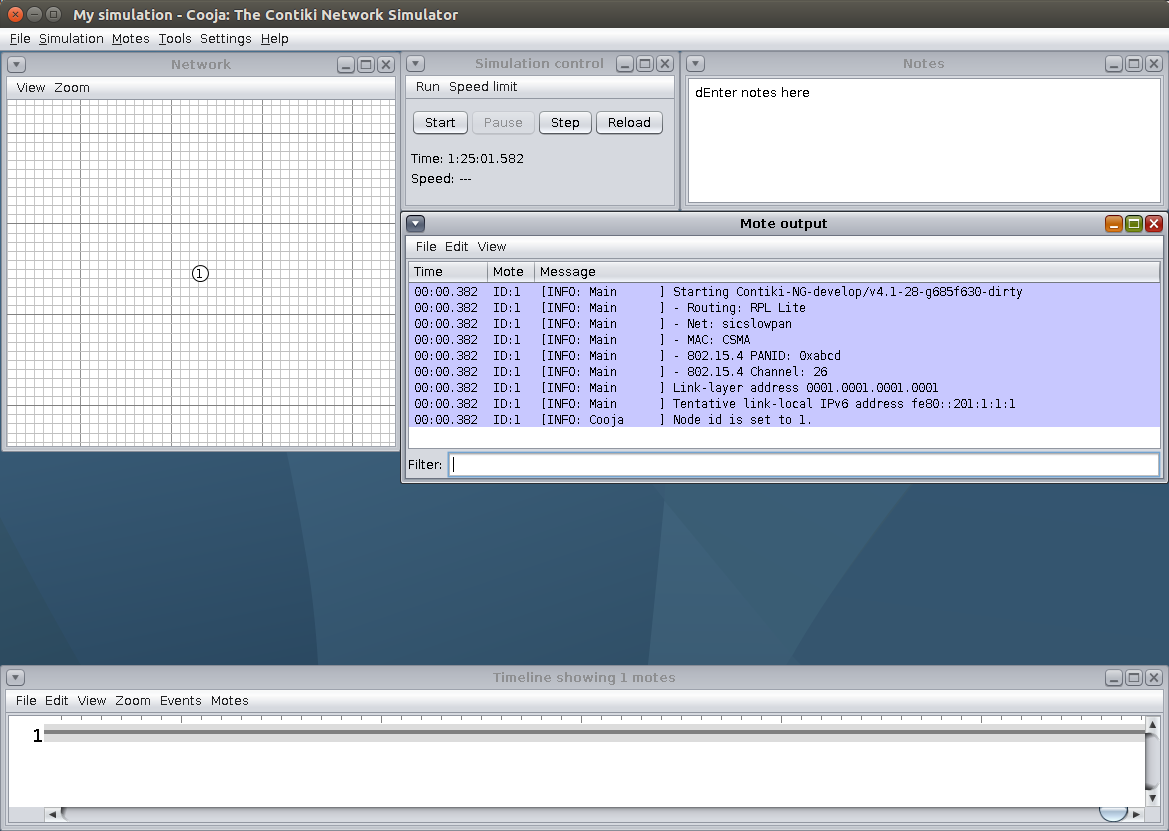
You should see a new empty simulation window:
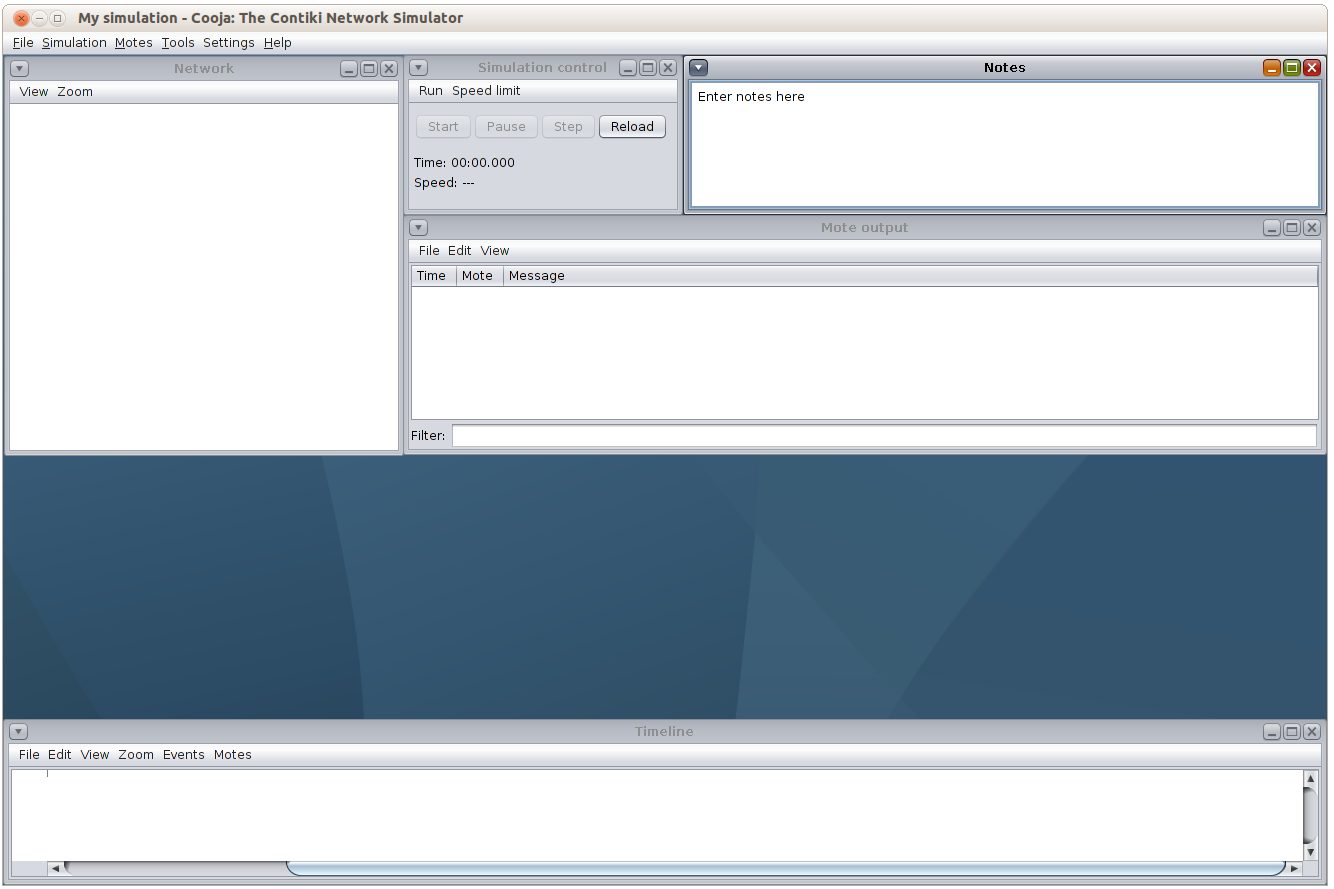
By default, the simulation contains a number of panels:
The ‘Network’ panel will show the network topology.
The ‘Simulation control’ panel is used to start/pause/reload simulations.
The ‘Notes’ panel is for your own notes.
The ‘Mote output’ panel shows the serial line output of every node in the network.
The ‘Timeline’ visualizes communication in the network.
There are many other views available, try for instance Tools->Radio messages to add a panel that shows all packets sent during a simulation.
You can save your simulation with File->Save simulation as....
Cooja simulation files are have the extension .csc.
Many of the examples provided in Contiki-NG come with their own .csc file, which one can open with File->Open simulation.
We will now create a simple simulation, with just one node running the hello-world example.
First, we need to create a new mote type.
Go to Motes->Add motes->Create new mote type.
Select a mote type, either Cooja mote or Sky mote.
Cooja motes have the advantage of running as native processes inside Cooja: they are fast and not memory constrained. However, they do not simulate a mote hardware precisely (
contiker coojawill start Cooja inside a container, with support for Cooja motes).Sky motes have the advantage of emulating the hardware in a cycle-accurate way with MSPSim.
Below, with Cooja motes:
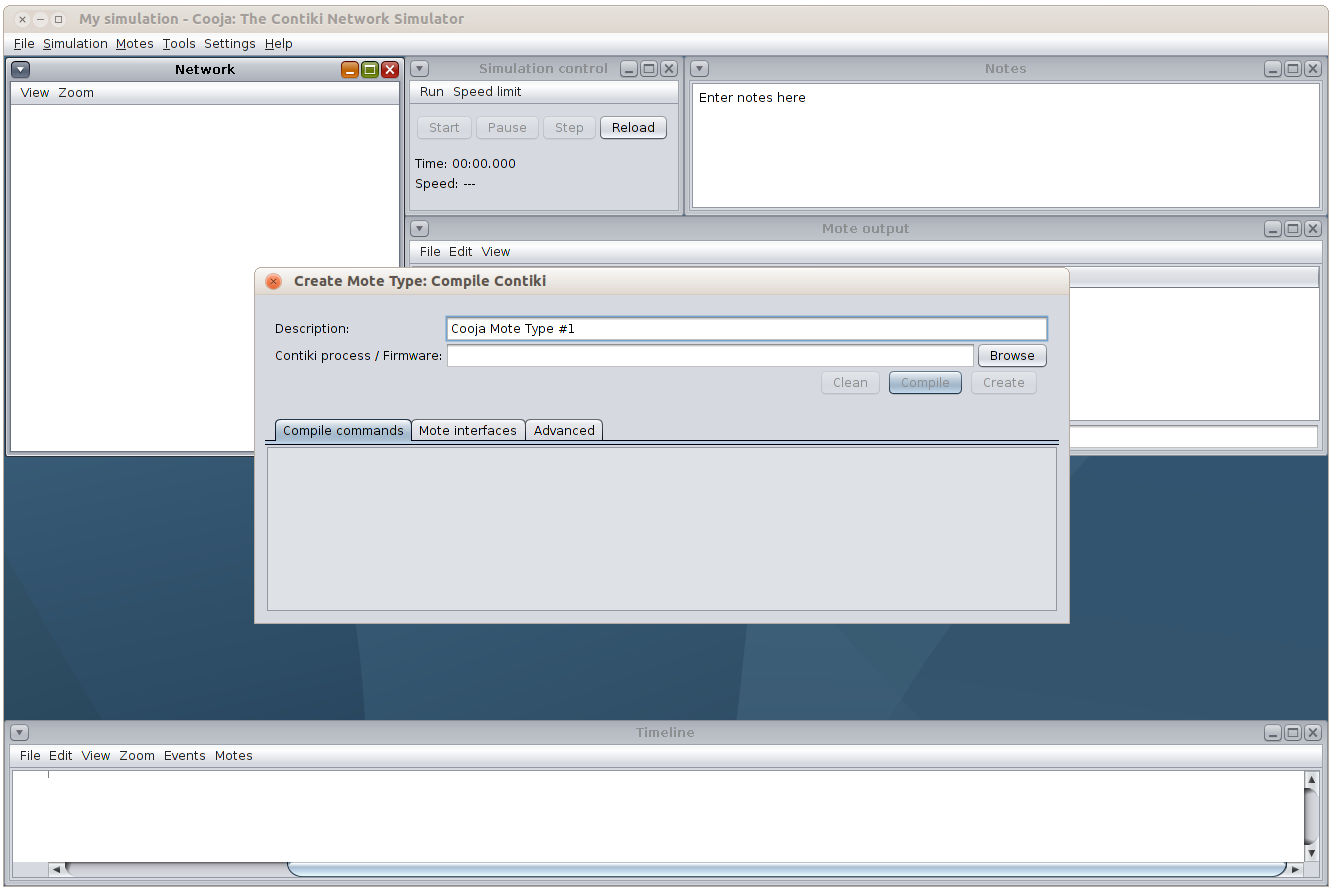
Then select a Contiki-NG project.
We will select examples/hello-world.c.
Then click on Compile, and Create.
A prompt will ask how many such nodes we want – let’s create just one:
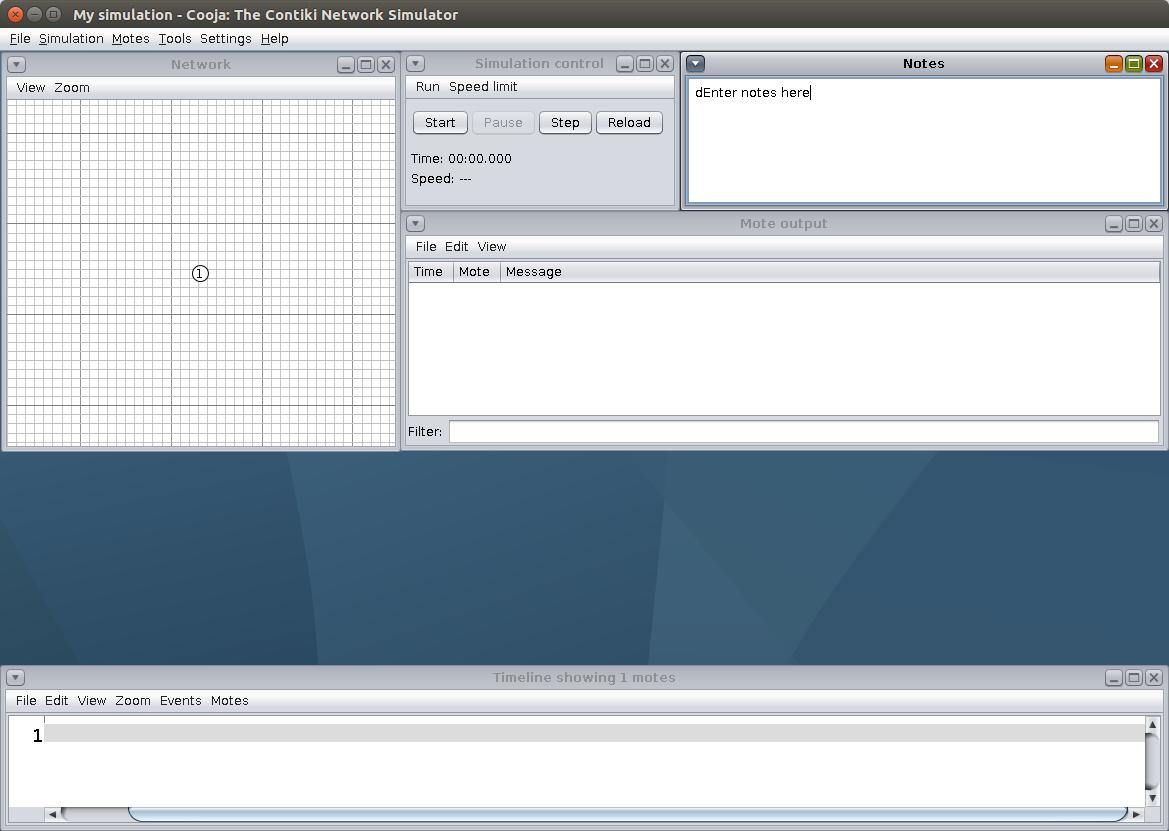
Now is the time to press Start (or ctrl+s) on the Simulation control panel!
Just wait a few seconds and pause the simulation.
The Mote output window shows the serial output from our node.
Cooja is most useful for troubleshooting applications, do not hesitate to explore the menus, there are more tools to discover!
You can also try the .csc files provided with some examples.
Also note that many of our continuous integration tests run on Cooja.
For your next contribution, consider including your own test to ensure non-regression!
Running Cooja without GUI
Cooja can also run simulations without using a GUI. Only simulations with a timeout can run without GUI as the
simulations must have an end point. Timeouts can be configured using the simulation script plugin by
including TIMEOUT(milliseconds); in the simulation script.
cd tools/cooja
./gradlew run --args='--no-gui ../../tests/07-simulation-base/02-ringbufindex.csc`